For years, I tried to figure out how to make ready-to-eat meals without needing a cooler while camping or traveling.. It seemed like we always needed a cooler, had to cook everything from scratch or sacrifice our health for easy convenient meals. When I go camping or traveling, I want to be able to enjoy the trip and not spend half of it sweating over a hot stove. All the quick, easy meals I found at the grocery store were either really high in salt or contained a lot of ingredients that I couldn’t pronounce.
I thought being able to have ready to eat meals, without requiring a cooler and it actually be healthy food was a myth, until I started doing a lot of research. Here is what I found out!
The Truth About “Convenience Food” at the Grocery Store
Here’s the part most grocery stores don’t advertise: Only a small portion of food in the store is actually fresh and minimally processed.
Think about the journey most boxed or instant foods take:
- Ingredients are harvested weeks (or months) before use
- They’re transported to processing facilities
- Turned into instant oatmeal, meal kits, or boxed mixes
- Packaged with preservatives to survive transport
- Distributed to warehouses and stores
- Sit on shelves… for who knows how long
By the time we buy them, those foods may already be old, and the preservatives are the only reason they’re still “edible.” That realization alone made me rethink everything.
When “Buy Local” Isn’t an Option
In a perfect world, we’d all buy directly from farmers, gardeners, or grow our own food.
But that’s not reality for everyone.
I currently live three hours from the nearest grocery store, and even farther from farms or markets. Over the years, I’ve lived in:
- campers
- tents
- apartments
- cabins
- temporary housing
Gardening hasn’t always been an option. In many seasons of life, it wasn’t possible at all. That meant my best option was:
- buying fresh ingredients when I could
- then preserving them before they spoiled
The only way to control freshness and ingredients is to prepare and preserve food yourself.
That’s when I started researching how to make my own shelf-stable, ready-to-eat meals at home.
My options were:
- canning
- dehydrating
- freeze drying
Why I Didn’t Start With Canning
Glass jars and constant movement don’t mix well. Between camping, traveling, and limited storage, canning just didn’t feel practical for our lifestyle.
Why I Didn’t Start With Freeze Drying
Freeze dryers are expensive. I wasn’t ready to invest that much money into something I hadn’t tested yet.
So I started with dehydrating.
Why Dehydrating Was My Starting Point
Dehydrating gave me:
- a low-cost way to experiment
- flexibility for travel
- no glass jars
- shelf-stable food
I went deep into research:
- what foods can and can’t be dehydrated
- how to rehydrate properly
- whether full meals were even possible
After testing dozens of foods, I started dehydrating full meals.
How I Tested Dehydrated Meals
Instead of making separate “test batches,” I:
- Cooked dinner as usual
- Made a little extra
- Dehydrated the leftovers
- Rehydrated small portions to test texture and flavor
If it worked, I wrote it down. If it didn’t, I adjusted or crossed it off.
That process taught me more than any guide ever could.
If you want a complete breakdown of what works, what doesn’t, and how to avoid beginner mistakes, read my Dehydrating 101 Guide here.
What Dehydrating Does Really Well (And Where It Struggles)
Dehydrating is excellent for:
- fruit leather
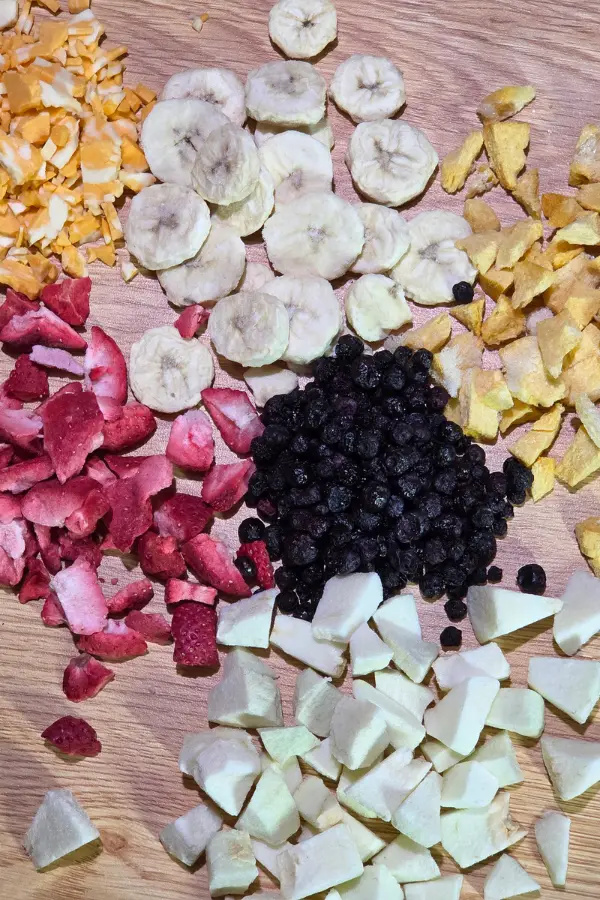
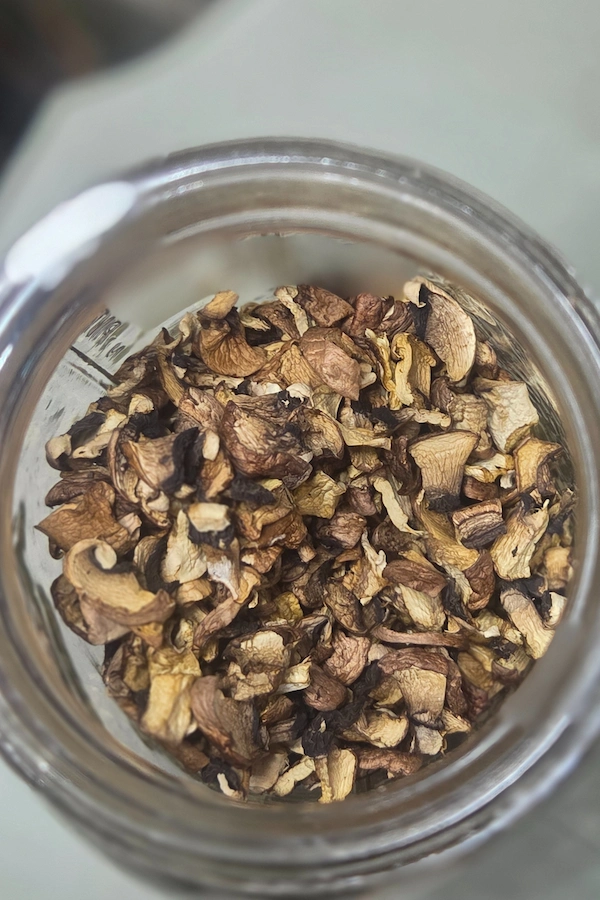
- dried fruits and vegetables
- soup bases
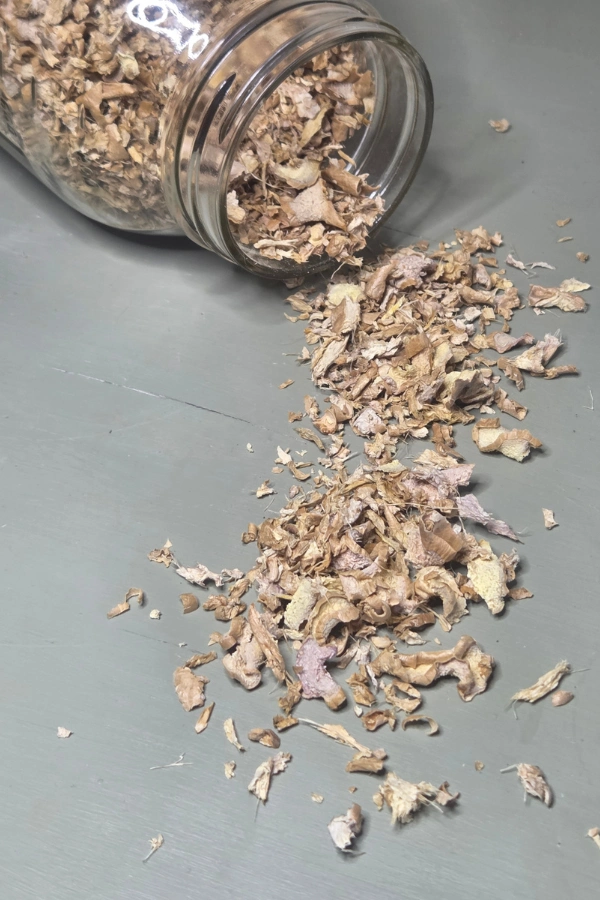
- pantry ingredients
- lightweight travel food
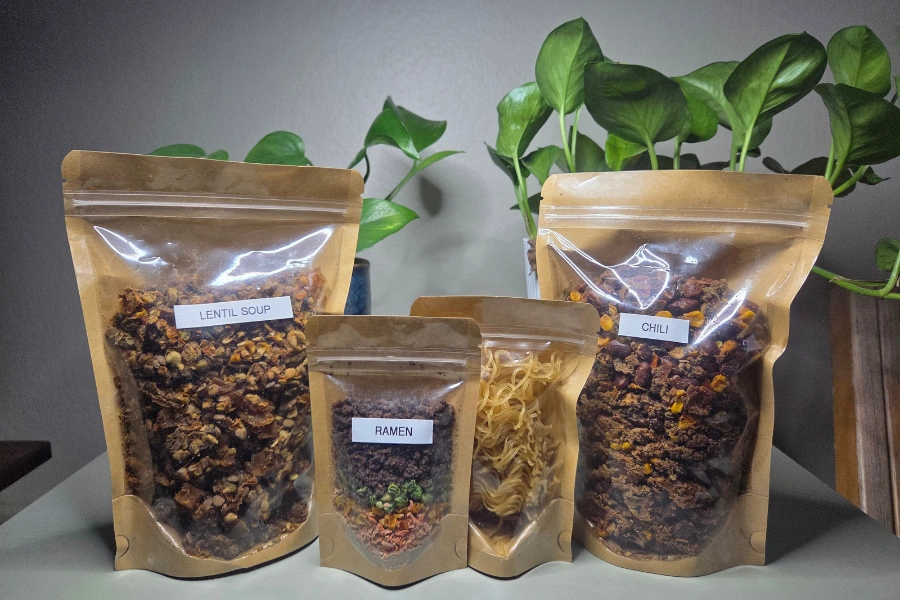
I’ve successfully dehydrated:
- potato soup
- spaghetti
- lentil soup
- homemade ramen meals
The downside? Rehydration time.
Away from home, rehydrating dehydrated meals can take anywhere from 15 to 45 minutes, depending on the food and method. After a long day of adventuring, that wait felt long.
I heard the same question every night:
“Is the food ready yet?”
Sometimes the texture was still a little chewy, but hunger usually won.
Read How to Rehydrate Dehydrated Food Properly, here.
The Upgrade That Changed Everything: Freeze Drying
After a full summer of dehydrated meals, we wanted faster results. That Black Friday, we found a freeze dryer on sale and decided to upgrade. The difference was immediate.
Freeze-dried meals:
- rehydrate in minutes, not 30–45
- work with hot or cold water
- keep original texture better
- are ideal for large batches
It was a bigger investment but for our lifestyle, it made sense.
Read about: Freeze Drying vs Dehydrating: Pros, Cons, and Real-Life Use Cases
Do I Still Use My Dehydrator?
Absolutely! I still use my dehydrator for:
- fruit leather
- snacks
- pantry ingredients
- quick, low-energy preservation
Dehydrating was a perfect entry point into food preservation and taught me the fundamentals I still use today.
So… Which One Should You Choose?
Choose one that fits your lifestyle. Here’s my honest take:
- Choose a dehydrator if:
- you want an affordable starting point
- you only need occasional premade meals
- you’re building pantry ingredients slowly
- Choose a freeze dryer if:
- you want fast rehydration
- you travel, camp, or live off-grid
- you want large quantities of ready-to-eat meals
There’s no wrong answer. Only what fits your life right now.
Recommended Equipment
These are tools I personally use or recommend:
- Dehydrators:
- Freeze Dryer:
Want a Complete Pantry System?
If you’re building a pantry that actually works, whether for travel, emergencies, or everyday life. I’ve put together tools to help you get started without overwhelm.
Download my FREE From Scratch Pantry System here.