We were living in our school bus when I finally stopped buying canned soup for good.
We had a two-burner propane stove, a wood-burning stove for heat, and water jugs under the sink hooked to a pump. Fully off-grid, fully ours, and zero pantry space for bulky cans we’d use twice a year. Every item on those shelves had to earn its spot.
Canned cream of mushroom soup did not make the cut.
So I started experimenting. A dry mix I could make in bulk, store in a jar, and pull out whenever a recipe called for a can of condensed soup. No preservatives, no mystery ingredients, no trips to the store when we were parked somewhere remote.
What I landed on works for cream of mushroom, cream of chicken, cream of broccoli, honestly whatever you have on hand. It’s been in my pantry ever since, and I haven’t bought a can of condensed soup in years.
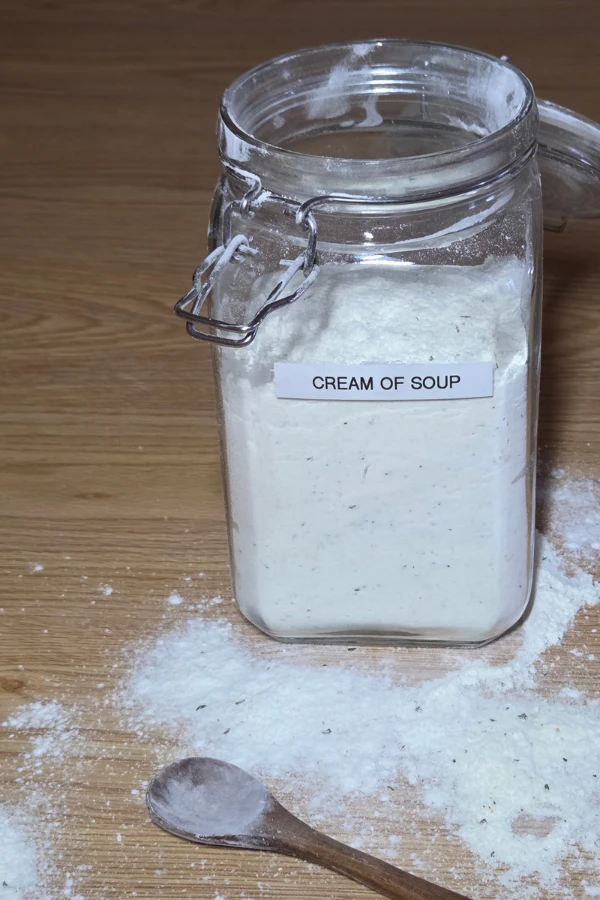
Cream of anything soup substitute in a nutshell: Mix powdered milk, cornstarch, and a few pantry spices once, store it in an airtight jar, and you have a homemade dry base that replaces every condensed cream soup in any recipe. Use 1/3 cup of mix plus 1 1/4 cup of liquid per can your recipe calls for. It takes 5 minutes to mix and stores for up to 6 months.
What is a Cream of Anything Soup Mix?
This is a simple dry base you mix once and store in a jar.
When a recipe calls for a can of condensed cream of mushroom soup, or cream of chicken, or cream of celery, or whatever, you scoop out 1/3 cup of this mix, add 1 1/4 cups of liquid, and you’re done. Same creamy texture, same thick base, no can required.
It has all the dry ingredients already combined. You just add whatever liquid and add-ins fit your recipe: water, broth, or milk, and cooked veggies or protein if you need them.
It’s a 1-for-1 substitute for any 10 oz can of condensed cream soup.
Why I Ditched the Cans
Canned cream soups take up space, they’re heavy to carry, and when you flip one over and read the label, the ingredients list is longer than it has any right to be.
When we were living off-grid, space was the main issue. One small jar of this mix replaces about 10 cans of store-bought soup. We weren’t going to haul 10 cans of anything around, but a single pint jar with a lid? That travels.
Beyond that, making your own means you control what goes in. No fillers, no thickeners with names you can’t pronounce, no extra sodium packed in to compensate for a lack of real flavor. This mix is designed to be low sodium so you can season to taste for whatever you’re making.
If you’re building a pantry that has to work no matter where you are, small apartment, camper, seasonal housing, anywhere, lightweight and long-lasting wins every time. I put together a full guide on stocking a practical pantry for people without permanent kitchens if you want to see how this fits into the bigger picture: How Much Food to Stock for 6 Months
How I Actually Use This Mix
Mostly in casseroles and skillet meals when I need a creamy base fast and don’t have a full sauce situation going.
My favorite is green bean casserole around the holidays. There’s something satisfying about making a recipe everyone recognizes completely from scratch, no cans, no packets, just real ingredients I already have on hand.
I also use it anywhere I’d normally reach for a can mid-recipe. Slow cooker chicken. Creamy pasta. Anything where condensed soup is doing the thickening work.
Building a from-scratch pantry that actually works when life doesn’t look conventional? That’s exactly what my free From Scratch Pantry System covers, what to stock, how to store it, and how to use it without a permanent kitchen setup.
Grab it here and it’s free.
Long-Term Storage
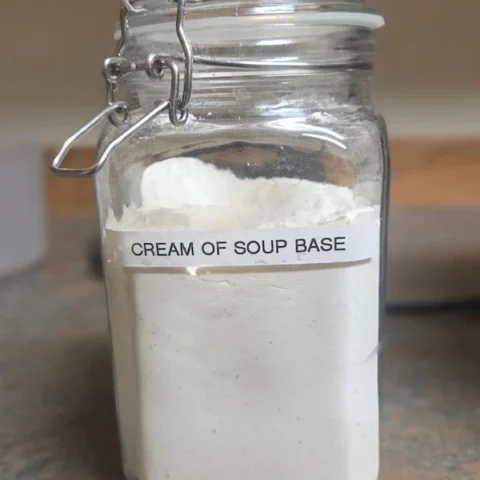
Store your mix in a cool, dark, dry place in an airtight container. I use glass jars with a small oxygen absorber inside to extend freshness.
Stored properly, this mix lasts up to 6 months. That’s long enough to make a big batch, forget about it, and still have it ready when you need it.
For jars, I use these wide-mouth glass jars. For oxygen absorbers, these are the ones I use.
Ingredients
- 2 Cups Powdered Milk
- 3/4 Cup Cornstarch or Arrowroot Powder
- 1 Tsp Onion Powder
- 1 Tsp Garlic Powder
- 1/2 Tsp Dried Parsley
- 1/2 Tsp Dried Basil
- 1/4 Tsp Black Pepper
Directions
- Combine all ingredients in a large mixing bowl.
- Mix thoroughly until everything is well distributed.
- Store in an airtight container with an oxygen absorber
That’s it!
When you’re ready to cook, follow the directions below depending on the soup type:
Cream of Mushroom Soup: Mix 1/3 cup of mixture with 1 1/4 cup of water. Add 1/2 cup of cooked mushrooms (you can also use rehydrated mushrooms that were dehydrated or freeze dried mushrooms) or 1/4 cup of mushroom powder. Whisk until smooth and bring to a boil while stirring consistently.
Cream of Chicken Soup: Add 1/3 cup of mixture to 1 1/4 cup of chicken broth. (I mix chicken bouillon with water for a shelf-stable option, or use homemade chicken broth depending on what I have available.) Whisk until smooth and bring to a boil while stirring consistently.
Cream of Broccoli Soup: Add 1/3 cup of mixture to 1 1/4 cup of water. Whisk until smooth. Add 1/2 cup of cooked broccoli. (you can also use rehydrated Broccoli that was freeze dried or dehydrated for a shelf stable option). Bring to a boil while stirring consistently
Note:
- They are done when it gets to your desired consistency. If it is too runny, add more mixture. If it is too thick, add more water, milk or broth.
- Add salt or other seasonings as desired. This recipe is designed to have less sodium.
Common Questions
Is this gluten-free or dairy-free? It’s already gluten-free. For dairy-free, swap the powdered milk for coconut milk powder or almond milk powder and it works just as well.
How does it taste compared to canned soup? Honestly, better. Fresher, creamier, and you can actually taste the herbs instead of just salt and preservatives.
Can I use this in casseroles or a slow cooker? Yes, it’s a straight 1-for-1 substitute for any 10 oz can of condensed cream soup. Use 1/3 cup dry mix plus 1 1/4 cup liquid for every can your recipe calls for.
Other From-Scratch Mixes Worth Keeping in Your Pantry
If this one earned a spot in your pantry, these are the others I make in bulk and always have on hand:
- Country Gravy Dry Mix: same concept, same ease, works for biscuits and gravy or any skillet meal
- Homemade Taco Seasoning: a single jar replaces every packet
- From Scratch Pantry System (Free Download): the full list of what I actually stock and how I store it
CONCLUSION
When we were figuring out how to eat well on the road, the goal was never to eat less or settle for convenience food. It was to build a system that worked no matter where we were parked.
This mix is part of that system. Small jar, big impact, no grocery run required.
If you make it, let me know what you used it for in the comments below. I’m always curious what people end up making, and green bean casserole stories are especially welcome.
With love and adventure,
Mindy
Cream of Anything Soup
Cream of anything soup is a dry mix that can be made into Cream of Chicken Soup, Cream of Mushroom Soup, Cream of Broccoli Soup, etc. Which is why it is called Cream of "Anything" Soup.
Ingredients
- 2 Cups Powdered Milk
- 3/4 Cup Cornstarch or Arrow Root Powder
- 1 Tsp Onion Powder
- 1 Tsp Garlic Powder
- 1/2 Tsp Dried Parsley
- 1/2 Tsp Dried Basil
- 1/4 Tsp Black Pepper
Instructions
1. In a large mixing bowl, combine all the ingredients. Make sure all the ingredients are combined thoroughly.
2. Store the mixture in an airtight container in a cool, dark place. I like to put oxygen absorbers in my mix to help the mix stay fresh longer.
3. Follow the directions below for cooking instructions.
Cream of Mushroom Soup: Mix 1/3 cup of mixture with 1 1/4 cup of water. Add 1/2 cup of cooked mushrooms or 1/4 cup of mushroom powder. Whisk until smooth and bring to a boil while stirring consistently.
Cream of Chicken Soup: Add 1/3 of mixture to 1 1/4 cup of chicken broth. Whisk until smooth and bring to a boil while stirring consistently.
Cream of Broccoli Soup: Add 1/3 cup of mixture to 1 1/4 cup of water. Whisk until smooth. Add 1/2 cup of cooked broccoli. Bring to a boil while stirring consistently.
Notes
- They are done when it gets to your desired consistency. If it is too runny, add more mixture. If it is too thick, add more water, milk or broth.
- Add salt or other seasonings as desired. This recipe is designed to have less sodium.
- All the products I use and Recommend: HERE
If you want to stop buying boxed mixes altogether, I put all of my pantry replacements into one simple printable pack HERE.
Will have to try this!!!
I didn’t know it could be so easy. Thank you!
What a great idea to have a mix on hand!
First time to your web page, I ran out of baking powder this morning so I feel super blessed that, God guided me to your page. Do you have any recipes for sourdough bread. I’m a beginner and I’m also diabetic and I’m always looking recipes. Do you have any recipes for bone broth chicken or beef. It’s very hard to find in supermarkets these days.
Hi Jenny! I am so grateful to have you here ❤️ The baking powder is SUPER easy to make from home.
I do have a sourdough sandwich bread recipe that is my favorite to make but I have not put the recipe on my blog yet.. Recipe is 285g of water, 70g of active starter, 16g of honey, 12g of oil, Mix that together, then add 500g bread flour and 13g salt. Mix until combined. Let it rest for 30 minutes. Do 1 stretch and fold until it forms a ball and then let it double in size. Once its doubled, roll it into a log shape and put it in a bread load pan lined with parchment paper. Let it rise again until it has risen about 1 inch above the edge of the loaf pan. Bake at 375 Degrees for 40 minutes or until the top is golden brown. Cool on a cooling rack with a dish towel over top and the heat/moisture will soften the crust.
Bone broth is extremely hard to fine, especially ones that don’t have extra additives that don’t need to be there but it’s also simple to make. Add chicken or beef bones to a pot. Fill the pot with water so that all the bones are covered. I always add salt to the water so it doesn’t taste bland but you can put seasoning you like, I’ve also put vegetables in there to extract those nutrients too. You will want to bring the pot to a boil then turn it down to a soft boil or simmer for about 8 hours. You want to heat the bones up enough to get the cartilage from the bones to liquify. You have to add more water halfway through to keep all the bones under water. Once it’s done, pour it all through a fine mesh strainer so you have pure bone broth with no chunks. If you put it in the fridge, it should become a jelly like consistency. If it doesn’t then it wasn’t simmering long enough.
I hope this helps! When I get those recipes up on the blog, I’ll be sure to let you know. I hope you have a wonderful day and if you need anything else I’m always here to help.