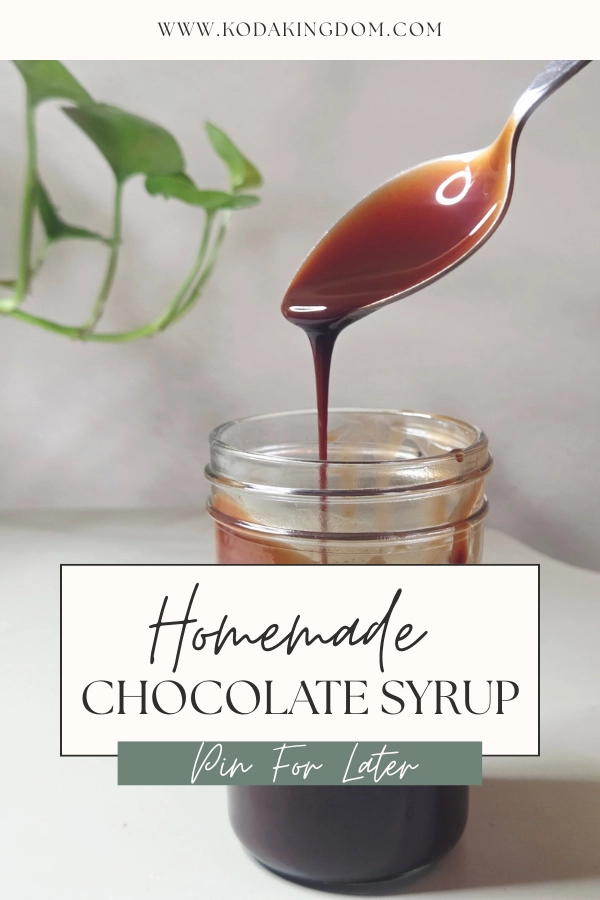

Chocolate syrup is one of those items that we just couldn’t give up. Chocolate milk and chocolate drizzled over vanilla ice cream of a couple of our favorite ways we use chocolate syrup. The store-bought chocolate is full of random ingredients I can’t pronounce but this recipe only requires main pantry ingredients. You may already have these ingredients in your pantry.
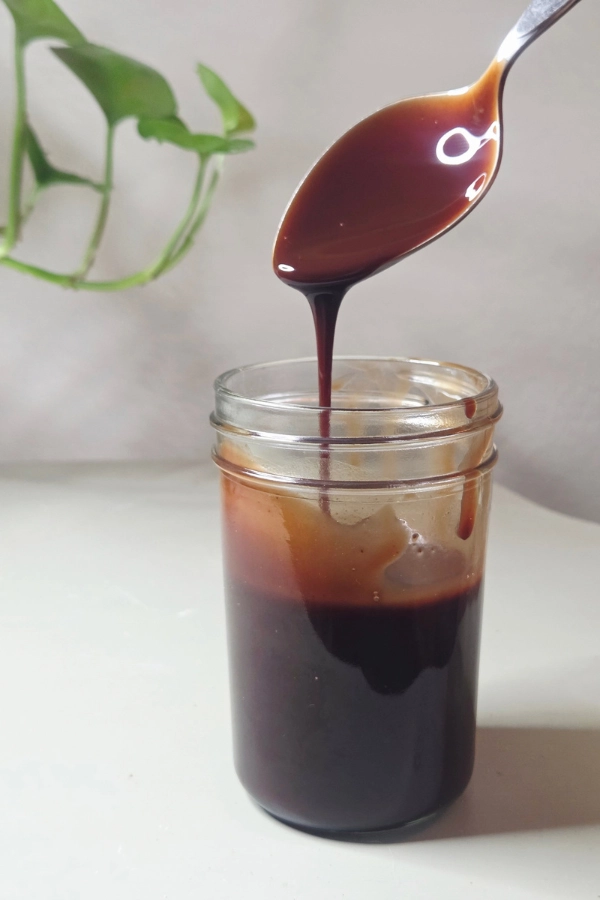
Why Make This Recipe
It takes less then 10 minutes to make it at home and (despite the sugar in it) it’s actually healthier than store bought syrup. Have you ever looked at the ingredients on a bottle of store-bought chocolate syrup? If you have and couldn’t even pronounce the ingredients, then you already know why you should make this recipe!
The sugar in the recipe actually prevents it from going bad. At least, that’s what I believe. I’ve had homemade chocolate syrup in the fridge for months and it’s never spoiled.
If cooking from scratch and ditching the store-bought foods is something you would like to achieve but feels overwhelming, you have come to the right place! I teach you how to make cooking from scratch easy and affordable right here on the blog. If you are not sure where to start, I have created a FREE From scratch Guide to help you get started.
The Recipe
I honestly think this recipe tastes very similar to the Hershey’s chocolate syrup that you can buy at the grocery store. However, this recipe only has 4 ingredients and yields 1 cup of Chocolate Syrup.
Ingredients:
- 2 Cups Sugar
- 1 Cup Water
- 1/3 Cup Cocoa Powder
- 1 Tbsp Vanilla Extract
That’s it! Nothing you can’t pronounce! You may actually already have these ingredients in your pantry!
Instructions:
- Grab a saucepan that is much bigger than you think you will need. This chocolate syrup in going to boil up the sides on your saucepan and I don’t want it to overflow on you.
- Add Water and Sugar to your saucepan.
- Turn the stove on medium-high heat.
- Once the sugar has melted, add in your Cocoa Powder.
- Mix well and bring to a boil.
- Let that boil for about 3 minutes.
- Take your saucepan off the heat.
- Add the vanilla and let it cool.
- Once its cooled, store it in an airtight container.
Storing Tips
I store this syrup in an airtight container to prevent it from drying out. I also try to keep it in a glass container. The glass container just helps to prevent microplastics. This can be a glass container that was used for something else, that you are repurposing or a glass container that you purchased like a mason jar.
I like to use this mason jar with this lid.
How to Use
Our 2 favorite ways we like to use this syrup for making…
- Chocolate Milk
- Over Ice Cream (Homemade of Course)
There are so many other ways to use chocolate syrup! You can use it on pancakes, waffles, brownies, muffins, chocolate dip for fruits and so many other desserts! The list is endless but of course, our favorites are listed above.
Want help building your pantry?
I know what it’s like trying to transition from buying everything at the store to making everything from scratch! It’s an overwhelming process and I very frequently, didn’t know where to start. If this sounds like you, grab my free From Scratch Pantry Guide to help you get started today.
It’s actually much easier than you think, once you start learning the basics. Once I actually got started, I wanted to throw out everything that was in my pantry, but I had to start small and slowly start replacing the grocery store mixes with homemade mixes. Overtime, you will have developed a from scratch kitchen.
You May Also Like
Here are some of my other favorite recipes that you may like too!!
Chocolate Syrup
Chocolate syrup is one of those items that we just couldn't give up. Chocolate milk and chocolate drizzled over vanilla ice cream of a couple of our favorite ways we use chocolate syrup.
Ingredients
- 2 Cups Sugar
- 1 Cup Water
- 1/3 Cup Cocoa Powder
- 1 Tbsp Vanilla Extract
Instructions
- Grab a saucepan that is much bigger than you think you will need. This chocolate syrup is going to boil up the sides on your saucepan, tripling in volume and I don't want it to overflow on you.
- Add Water and Sugar to your saucepan.
- Turn the stove on medium-high heat.
- Once the sugar has melted, add in your Cocoa Powder.
- Mix well and bring to a boil.
- Let that boil for about 3 minutes.
- Take your saucepan off the heat.
- Add the vanilla and let it cool. (I like to let it cool in the fridge, so it thickens up)
- Once its cooled, store it in an airtight container in the fridge.
Notes
- Storing Tips: I like to use this mason jarwith this lid.
- How long does it last? I've honestly never had it go bad on me. I've stored it in the fridge for months and it still hasn't gone bad.
- Want help Building a Pantry From Scratch? Get my FREE From Scratch Pantry Guide.
- You May Also Like These Recipes: DIY Pantry Staples
📌Pin For Later!