The summer Curtis and I spent three months driving the western United States with no cooler and no fridge, we didn’t even bother trying to bring strawberries. There was no point. We knew exactly how that story ended. Soggy, moldy, two days in, a total waste. So we just went without.
That was fine, we made it work. But I thought about fresh fruit more than I want to admit. Not in a dramatic way, just in that quiet way where you’re eating crackers and nut butter for the fourth day in a row and you think, man, a bowl of strawberries would be really something right now.
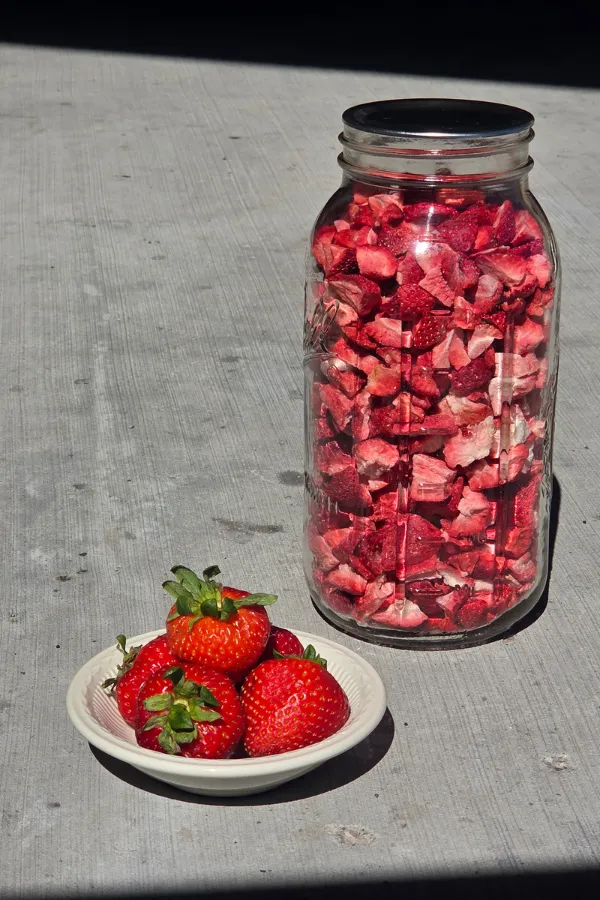
We didn’t have the Harvest Right yet. That came later. But when I finally ran my first batch of freeze-dried strawberries and cracked open that jar months later, still bright red, still smelling like June, my first thought was that I wished I’d had these on that trip. We could have had fruit the whole summer. No cooler required.
If you’ve got a freeze dryer and strawberries aren’t in your regular rotation yet, this post is for you.
How to Freeze Dry Strawberries: The Short Version
Freeze drying strawberries at home with a Harvest Right is a straightforward process. Wash, hull, and slice your strawberries, load them onto trays in a single layer, and run a standard freeze dry cycle. The machine does the rest.
Quick answer:
- Fresh or frozen strawberries both work well
- Slice to about 1/4 inch thickness for even drying
- Standard cycle runs approximately 20 to 30 hours depending on moisture content
- Properly stored, freeze-dried strawberries last up to 25 years
What You Need Before You Start
The Harvest Right does the heavy lifting, but having the right storage supplies ready before you start saves time once the cycle finishes. Moisture is the enemy of freeze-dried food, so the window between opening the dryer and sealing your product matters.
Here’s what I keep on hand:
The machine: I have the Harvest Right small freeze dryer and it works beautifully for fruit. If you’re deciding on size, the small is great for a household of two and runs constantly without a problem. This post on freeze drying for beginners has more on choosing the right size.
Storage supplies:
- Wide-mouth mason jars and a jar vacuum sealer for short to mid-term storage (up to a year or two)
- Mylar bags and oxygen absorbers for long-term storage (25 years)
- Harvest Right actually sends mylar bags with the machine. If you need more, I’ve added a link above.
One thing worth knowing: the type of container you choose depends on how soon you’ll use the strawberries. If they’re going into oatmeal or trail mix within a few months, a vacuum-sealed mason jar is perfect. If you’re building a deep pantry or making a batch to store through multiple moves, mylar with an oxygen absorber is the call. If you are traveling, a Mylar Bag packs nicely and won’t break or spill.
Fresh vs. Frozen Strawberries: Which One Is Better?
Both work. I’ve done plenty of each and the end result is similar, but there are a few real differences worth knowing.
Fresh strawberries give you more control over slice thickness and tend to produce a slightly crunchier, more vibrant result. Peak-season strawberries freeze-dried at home taste genuinely incredible, like concentrated strawberry candy without any sugar added. If you have access to a flat of fresh berries, this is when freeze drying earns its keep.
Frozen strawberries are convenient and already partially broken down, which can actually shorten your cycle time slightly. They’re a great option year-round when fresh isn’t available or when you find a deal. Just make sure they’re not packed in syrup. Plain frozen strawberries only.
My preference is fresh when they’re in season and cheap, frozen when I’m doing a big batch in the off-season.
How to Freeze Dry Strawberries: Step by Step
Step 1: Wash and Hull
Rinse your strawberries under cold water and remove the green tops. Don’t soak them. Extra moisture means a longer cycle.
Step 2: Slice
Cut into roughly 1/4 inch slices. Uniform thickness matters here. Thicker pieces take longer to dry and can come out with a slightly softer center. I use a sharp knife and keep things consistent rather than rushing through it.
Step 3: Load the Trays
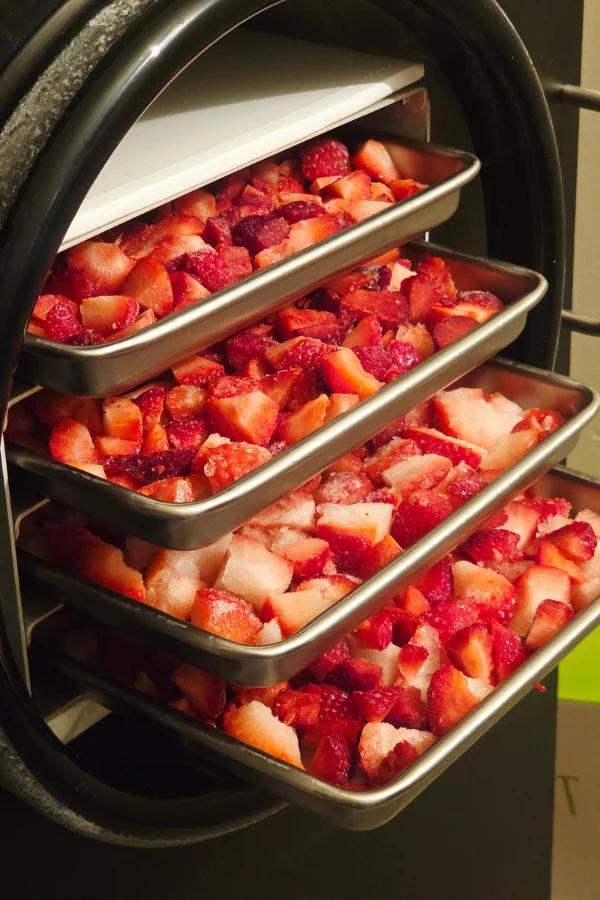
Lay slices in a even layer on your Harvest Right trays. They shouldn’t go above the top of the tray line. Overloading the tray traps moisture between pieces and you’ll end up with uneven results on that batch.
I learned this the hard way in the beginning. My first few batches I packed the trays too full because I wanted to maximize every cycle. A few pieces in the middle always came out slightly soft and had to be pulled out and re-run. Now I load lighter and trust the process.
Step 4: Pre-Freeze (Optional but Helpful)
If you’re working with fresh strawberries, running your trays in the freezer for an hour or two before loading them into the machine can shorten your cycle time. Harvest Right’s newer models have a pre-frozen food setting that accounts for this automatically. Just follow the prompts on your machine.
Step 5: Run Your Cycle
Load the trays, close the machine, and start your cycle. For strawberries, expect somewhere between 20 and 30 hours depending on how thick your slices are, how full your load is, and the ambient humidity in your space.
The machine will alert you when the cycle is done. Don’t open it until you get that signal.
Step 6: Check for Doneness
When the cycle finishes, pull a piece from the center of the most loaded tray. It should snap cleanly when you break it. No bend, no cool spots. If there’s any softness or a slight rubbery give, close the machine back up and add a few more hours.
This step is the one most people skip. The machine gives a signal, not a guarantee. You are the final check.
Step 7: Seal and Store
Work quickly once you open the machine. Freeze-dried strawberries will start to absorb moisture from the air within minutes of exposure. Have your jars or mylar bags ready before you open the door.
For mason jar storage, vacuum seal immediately. For mylar, drop in an oxygen absorber before sealing.
Label with the date. Freeze-dried strawberries sealed properly will outlast every other food in your pantry.
Do you need to pre-freeze strawberries before freeze drying?
You don’t have to, but it helps. Pre-freezing fresh strawberries before loading them into the machine reduces the total cycle time because the initial freezing phase is already done. If your Harvest Right model has a setting for pre-frozen food, use it. If not, a two-hour rest in your regular freezer before loading works just as well.
How long do freeze-dried strawberries last?
Stored in a sealed mylar bag with an oxygen absorber, freeze-dried strawberries can last up to 25 years according to Harvest Right’s storage guidelines. In a vacuum-sealed mason jar, expect one to two years of quality. The key in both cases is keeping them away from light, heat, and moisture. A cool dark pantry or cabinet is ideal.
Can you freeze dry fresh or frozen strawberries?
Yes to both. Fresh strawberries produce a slightly crunchier, more flavorful result. Frozen strawberries are convenient and often cheaper year-round, and they work just as well for long-term storage. Avoid frozen strawberries packed in syrup. The added sugar affects the cycle and the final texture.
How I Actually Use Freeze-Dried Strawberries
This is the part I want people to understand before they assume freeze-dried fruit is just for emergency food storage or backpacking. We use ours constantly.
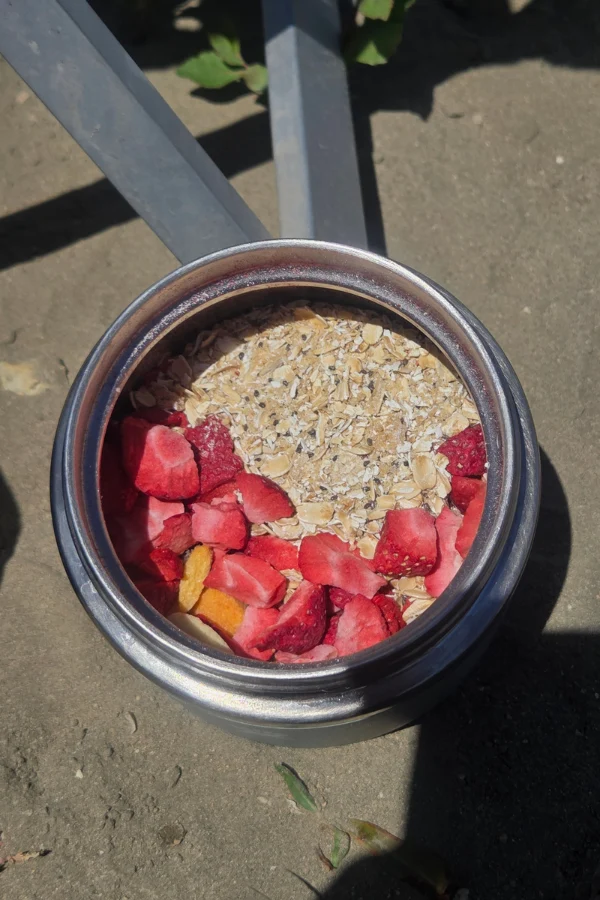
They go into homemade instant oatmeal packets. A handful of freeze-dried strawberries rehydrates perfectly in hot water. It tastes like real fruit in your oatmeal, not the sad little dried flakes in a Quaker packet. homemade instant oatmeal
They work as a straight snack. Curtis grabs them like chips. They’re light, sweet, and hit that craving for something that isn’t another granola bar.
I use them in trail mix, in yogurt when we have it, and sometimes just eat them dry out of the jar while I’m doing other things in the kitchen.
The camping angle is real too. We don’t carry a cooler on most trips. Freeze-dried strawberries mean we get fruit on the road without the weight, the mess, or the two-day expiration window that makes fresh fruit a gamble when you’re deep in the backcountry.
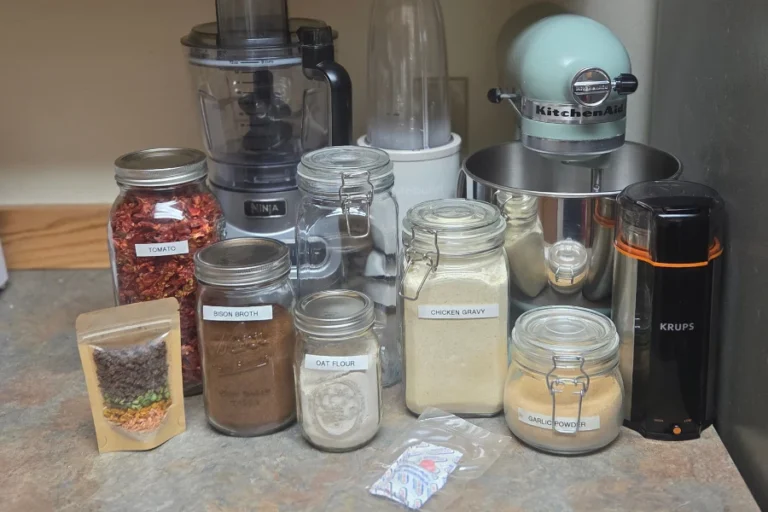
Building a Pantry That Actually Travels
If you’re freeze drying strawberries, you’re probably also thinking about the bigger picture. Building a pantry that doesn’t fall apart every time you move or go off-grid for a stretch.
That’s the whole reason the Harvest Right changed things for me. Before I had it, every move meant leaving food behind or watching things expire because we couldn’t use them fast enough. A pantry built around freeze-dried food is a pantry that actually travels. It doesn’t spoil, it doesn’t need a freezer, and it’s there whenever you need it.
If you want a system for exactly this (eating real food on the road without a cooler, a full kitchen, or starting over every time you move) I put together a free guide around it. It’s called the Adventure Ready Guide and it covers how we actually do it. The food formula, the pack-it-and-go system, the honest comparison of dehydrating vs freeze drying, and why the Harvest Right became the one piece of gear that changed everything for us. If that sounds useful, grab it below.
How to Store Freeze-Dried Strawberries Long-Term
Short-term (up to 1 year): Vacuum-sealed wide-mouth mason jars in a cool, dark pantry. No oxygen absorber needed if you’re using a jar sealer that pulls real vacuum.
Long-term (up to 25 years): Mylar bags with oxygen absorbers, heat-sealed, stored in a cool dark location away from direct sunlight and temperature swings.
What not to do: Don’t store them in a zip-lock bag in a cabinet that gets afternoon sun. The moisture will win. Freeze-dried food is only shelf-stable if it stays dry, and that means airtight is non-negotiable.
Freeze-dried strawberries also freeze-dry beautifully as a powder if you run them through a blender after drying. Strawberry powder stores just as well and can be added to smoothies, oatmeal, or baked goods without rehydrating first.
One More Thing About the Machine
I have been asked more times than I can count whether the Harvest Right is actually worth the price. And my honest answer is that it is the single best investment I’ve made in building a pantry that works for our life.
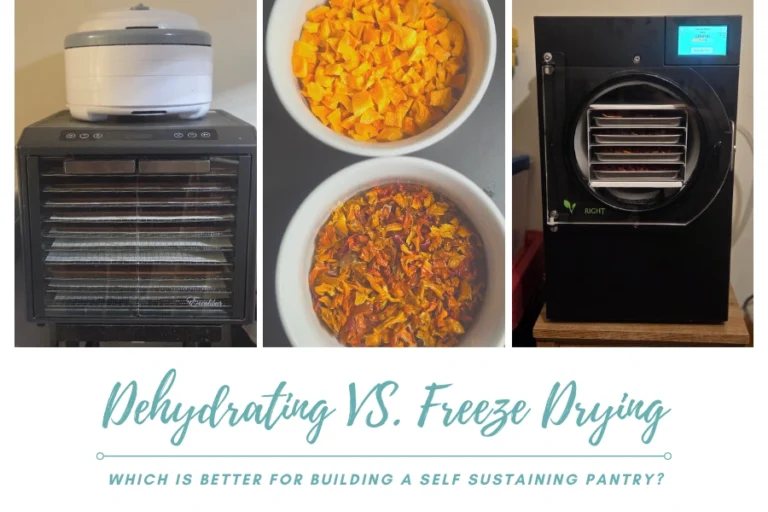
I said in my freeze drying for beginners post that if I could do it over, I would skip the dehydrator and go straight to the freeze dryer. I mean that. The quality of the food that comes out is on a different level than anything I was able to produce with dehydrating. And for fruit especially, for strawberries, there’s no comparison.
If you’re considering it, the Harvest Right freeze dryer comes in four sizes and they run sales a few times a year. It’s worth watching for.
Final Thoughts
There’s something satisfying about opening a jar of freeze-dried strawberries in the middle of January when fresh ones are either $6 a pound or nonexistent. You did that. You put those up when they were cheap and good and now they’re sitting there, perfect, ready to go into whatever you need them for.
That feeling doesn’t get old.
Start with a flat of fresh strawberries, run your first batch, and see what happens. I’m willing to bet it won’t be your last.
Have you freeze-dried strawberries yet? Tell me in the comments what you’re using yours for. I love seeing how people actually put this stuff to use in real life.
With love and adventure,