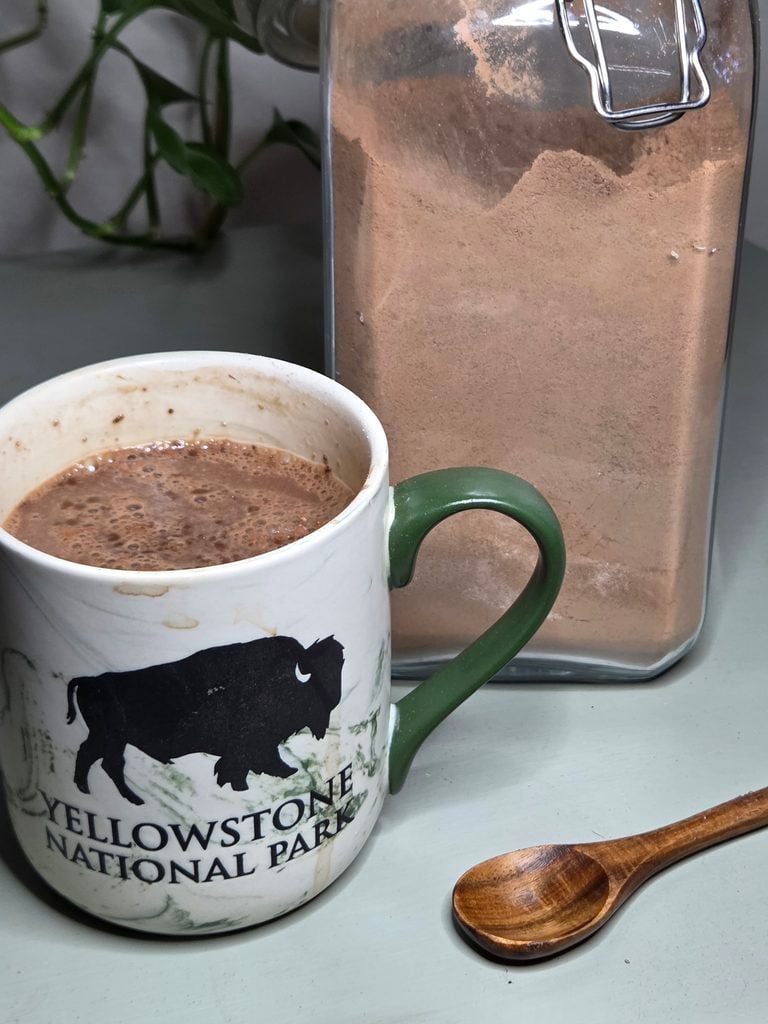

There is one thing we never leave the house without.
Not the coffee. Not the first aid kit. The hot cocoa mix. Every time we pack up to go camping, it goes in the bin before almost anything else, because a cold night outside feels completely different with a warm mug in your hands and a few marshmallows melting on top.
Around the holidays, Curtis and I like to drop a peppermint or a candy cane right into the mug. It is such a small thing, but it makes it feel like the holidays wherever we are.
This homemade hot cocoa mix is three ingredients: cocoa powder, sugar, and a pinch of salt. Powdered milk is optional if you like it creamier. That is the whole list. No preservatives, no ingredients I have to look up, and it costs a whole lot less than the packets.
I will give you the bulk recipe we keep in the pantry, plus a single mug version if you want to try it before you commit to a full batch. Then I will show you exactly how we store it so it lasts for months, even years.
Homemade Hot Cocoa Mix: The Short Version
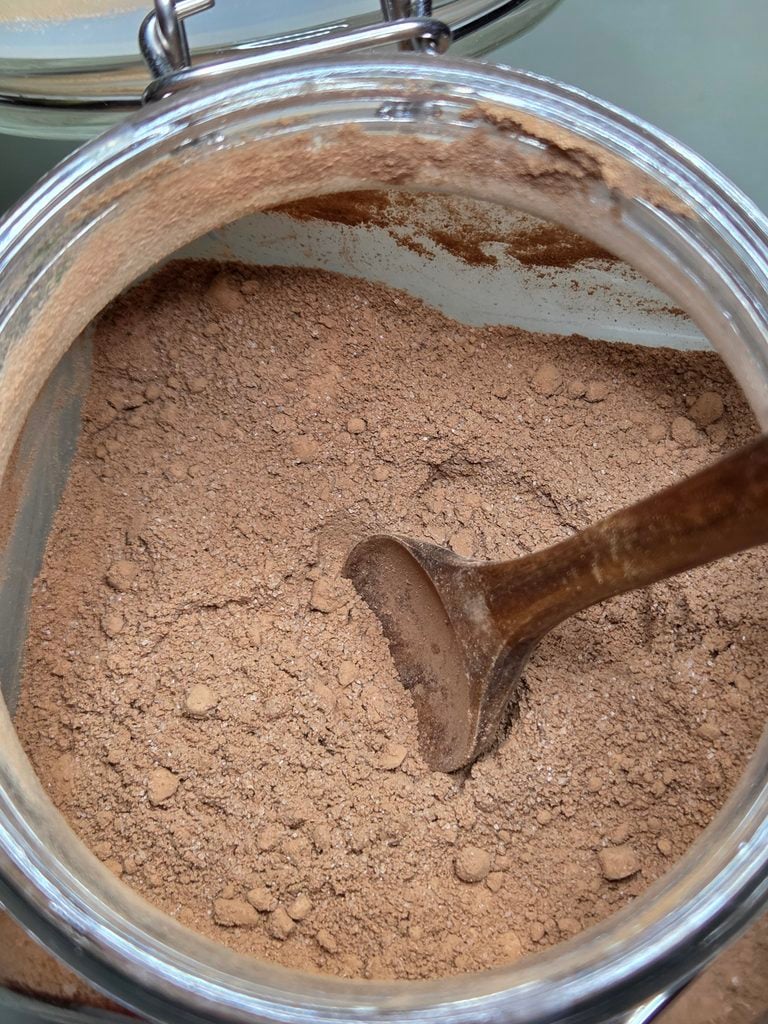
Homemade hot cocoa mix is unsweetened cocoa powder, granulated sugar, and a pinch of salt, with powdered milk added only if you want it creamier. Mix a big batch once, keep it sealed, and scoop out what you need for each mug.
Quick answer:
- Per mug: 1 1/2 tablespoons cocoa powder, 2 1/2 tablespoons sugar, a pinch of salt (plus 1 tablespoon powdered milk if you want it creamier)
- Bulk batch: 16 mugs from 1 1/2 cups cocoa, 2 1/2 cups sugar, and 1 teaspoon salt
- Powdered milk: optional, never required
- Storage: an airtight container keeps it for months; add an oxygen absorber and seal out the air and it can last for years
Why We Stopped Buying Hot Cocoa Packets
We started making our own because we wanted to know what was actually in our hot cocoa. We did not love the idea of drinking preservatives, and neither does the rest of my family. Once we made it ourselves, we never went back. And honestly, it is a whole lot cheaper.
But the bigger reason has to do with how we live.
We move around a lot, and we spend a lot of time in a camper. Every move used to mean boxing up a pantry full of single-use stuff: a box of this, a packet of that, each one good for exactly one thing. It took up space, it added weight, and it was one more thing to pack, unpack, and repack.
So we stopped buying prepackaged foods that only do one job. Now we buy ingredients that do a lot of jobs. Cocoa powder makes hot cocoa, but it also goes into baking and homemade chocolate syrup. Sugar goes into almost everything. When the pantry is made of ingredients instead of products, there is less to pack and we can make whatever we need wherever we end up.
That shift has saved us more time moving from place to place than I ever expected. It is the same reason I stopped buying most Convenience Foods and started making them from scratch. If you are curious how much the switch actually saves, I broke down the numbers in The Cost Comparison: Store-Bought vs Homemade Dry Mixes post.
How to Make Homemade Hot Cocoa Mix (Bulk Batch)
This is the version we keep on hand. It makes enough for 16 mugs, and it takes about five minutes.
You will need:
- 1 1/2 cups unsweetened cocoa powder
- 2 1/2 cups granulated sugar
- 1 teaspoon salt
- 1 cup powdered milk (optional, for a creamier cup)
How to make it:
- Add everything to a large bowl.
- Whisk until the color is even all the way through and there are no cocoa clumps hiding at the bottom.
- Pour it into an airtight container or a mylar bag (more on storage below).
To make one mug: scoop 4 tablespoons of mix into your mug (5 tablespoons if your batch has powdered milk), add 14 ounces of hot water or milk, and stir until the sugar dissolves. Top with marshmallows if you want them.
Want to try one mug first?
If you would rather test it before you make a whole batch, here is the single mug version:
- 1 1/2 tablespoons unsweetened cocoa powder
- 2 1/2 tablespoons granulated sugar
- A pinch of salt
- 1 tablespoon powdered milk (optional)
Stir it into 14 ounces of hot water or milk and you will know right away if it is your new favorite. Once it is, the bulk batch is the same recipe times 16.
Can you use granulated sugar in hot cocoa mix?
Yes. Most recipes online call for powdered sugar, but we use plain granulated sugar because it is already in our pantry and it does a dozen other jobs. It dissolves in hot liquid with a good stir.
Hot Cocoa Mix With or Without Powdered Milk
Powdered milk is completely optional in this recipe. It makes the cup creamier, but the mix works without it.
Can you make hot cocoa mix without powdered milk?
Yes. Just leave it out. The cocoa, sugar, and salt are the whole recipe, and the powdered milk is an add-on for people who like a creamier mug. Nothing else in the recipe changes.
Either hot water or hot milk works. We use 14 ounces per mug, and if you skip the powdered milk, hot milk is an easy way to get that creaminess back.
Why add powdered milk at all?
Two reasons. It makes the hot cocoa creamier, and it means you only need hot water to make a mug. That second part matters a lot when you are camping and there is no fridge and no fresh milk.
If you plan to store your mix for the long haul, nonfat dry milk holds up better than whole milk powder. The fat in whole milk powder is what goes stale first. Researchers at BYU found nonfat dry milk stored with low oxygen was still comparable to fresh after 23 years, so it pairs well with the oxygen absorber method below.
Ways to Make It Your Own
The basic mix is good on its own, but it is also easy to change up.
What can you add to homemade hot cocoa mix?
- Peppermint: drop in a peppermint candy or stir your mug with a candy cane. It melts right in and gives it that holiday flavor.
- Butterscotch schnapps (adults only): every once in a while, Curtis and I add a splash when we want it spiked. It does not happen all the time, but it gives the cocoa a completely different flavor.
- Marshmallows: the classic, and especially good on a cold night.
Why This Goes Camping With Us Every Single Time
We take this hot cocoa mix camping every time we go. It is especially nice on cold nights, and even better with marshmallows on top.
At home, ours lives in a glass container. On the road, we pack it in a mylar bag instead. Glass and bumpy roads do not mix, and a mylar bag weighs almost nothing. Less weight in the camper means we spend less on gas, and that adds up over a season.
If you want to make your own marshmallows to go with it, I put that recipe in our Adventure Inspired Recipes app. It is where we keep all our camp-ready, from-scratch recipes, plus a tracker for everything in your food storage so you know what you have and how long it lasts. It is $4.99 a month, and you can find it here.
This kind of simple food prep does not start at the campsite. It starts with the pantry at home. If you want the system behind it, I put together a free guide that walks through exactly how I build mine, from what to stock to the homemade mixes that replace the store-bought ones. It is called the From-Scratch Pantry Starter Guide, and you can grab it right here.
Is homemade hot cocoa mix a good gift?
It is one of our favorite gifts to give. Fill a jar, tie on a tag with the mug directions (4 tablespoons of mix, 5 if it has powdered milk), and it is ready. It costs very little to make, and it is something people actually use.
Tie a candy cane onto the ribbon and it is a holiday gift before anyone even opens it.
How to Store Homemade Hot Cocoa Mix So It Lasts for Years
The biggest thing to remember is simple: keep as much air out of it as possible. Every ingredient in this mix is shelf stable, so air and moisture are what make it go stale.
For everyday use: keep it in an airtight container like this one in a cool, dark spot. Ours usually does not last long because we use it so much, but I have kept a batch for several months at a time with no problem.
For long-term storage in a jar: put the mix in a mason jar, drop in an oxygen absorber, and vacuum seal the air out. Stored that way, it will last for years.
For camping or long-term storage in a bag: use a mylar bag like these, add an oxygen absorber, and seal the bag. If you pick a bag with no window, light cannot get in, and the mix lasts even longer. This is also how we pack it for trips, since it will not break and it barely weighs anything.
If you are building a pantry that goes wherever you go, I go deeper on what to stock in How Much Food to Stock for 6 Months and Pantry Staples to Always Have on Hand.
How long does homemade hot cocoa mix last?
In an airtight container, homemade hot cocoa mix lasts for months. Sealed with an oxygen absorber in a vacuum-sealed jar or a mylar bag, it can last for years. The key is keeping it sealed, dry, and out of the light so it does not go stale.
How much hot cocoa mix do you use per cup?
Use 4 tablespoons of mix per mug, or 5 tablespoons if your batch includes powdered milk. That matches the single serving recipe exactly: 1 1/2 tablespoons cocoa, 2 1/2 tablespoons sugar, and 1 tablespoon powdered milk if you use it.
One Less Thing to Pack, One More Warm Night
This little mix is a good example of how we try to live. Three ingredients we already keep in the pantry, one sealed bag, and a warm mug wherever we end up. No packets to run out of, no store run before a trip, and nothing in it we cannot pronounce.
Life is happening right now, and some of the best parts of it happen on cold nights outside with something warm in your hands. Make a batch, toss it in the camper, and go enjoy it.
With love and adventure,
Mindy
What is the one thing you never leave home without when you go camping? Tell me in the comments. I am always looking for the next thing to add to our bin.
Homemade Hot Cocoa Mix
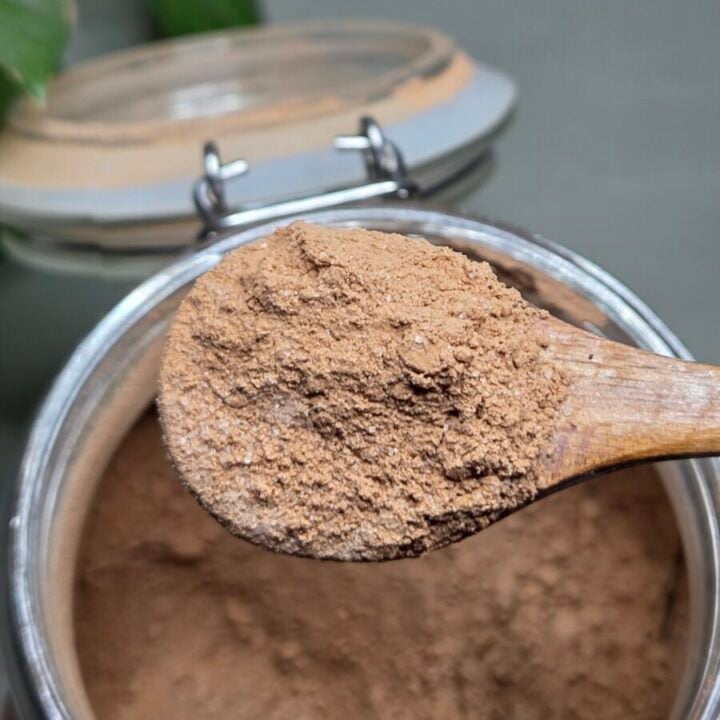
An easy homemade hot cocoa mix made from pantry staples, with no preservatives. Perfect for camping, cold nights, or filling a jar to give as a gift.
Ingredients
Bulk Batch
- 1 1/2 cups unsweetened cocoa powder
- 2 1/2 cups granulated sugar
- 1 teaspoon salt
- 1 cup powdered milk (optional)
Single Mug
- 1 1/2 tablespoons unsweetened cocoa powder
- 2 1/2 tablespoons granulated sugar
- Pinch of salt
- 1 tablespoon powdered milk (optional)
Instructions
- Add the cocoa powder, sugar, salt, and powdered milk (if using) to a large bowl.
- Whisk until fully combined with no cocoa clumps.
- Store in an airtight container, or in a mylar bag or mason jar with an oxygen absorber for long-term storage.
- To make one mug: stir 4 tablespoons of mix (5 if it has powdered milk) into 14 ounces of hot water or milk until the sugar dissolves.
- Top with marshmallows if you like.
Notes
Storage notes
Keeps for months in an airtight container in a cool, dark place. With an oxygen absorber in a vacuum-sealed jar or a sealed mylar bag, it lasts for years. A windowless mylar bag keeps light out and makes it last even longer.
Notes
- No powdered milk? Leave it out. Nothing else changes.
- For long-term storage, nonfat dry milk keeps longer than whole milk powder.
- Makes a great gift: fill a jar and add a tag with the mug directions.