If you are wanting to feed your dog real food, that is actually good for them, then this dog treat recipe is the perfect place to start. It’s made of all natural ingredients that you likely already have on hand. No need to buy those preservative filled treats from the store.
Why Make This Recipe
Every time I look at the treat bags from the store, almost all of them have ingredients that I can’t even pronounce. When my husband and I got our puppy (Koda), I didn’t know any better. I assumed the ones they sold in stores was going to be good for dogs, at least until I started reading the labels.
For a long time, I stopped giving Koda treats all together because I couldn’t find any that looked safe. However, it was much harder to train her because she is reward driven. She’s still a wonderful dog with good manners but I always thought it would be easier if I had treats to reward her with.
It took me 5 years to figure out how easy it is to make my own treats from home. Treats that are actually good for dogs, as long as you use the right ingredients. I’ll explain which ingredients are good and which ones you should stay away from.
Now she gets great healthy treats that she absolutely LOVES!!!
If you think cooking everything from scratch is very overwhelming, you are not alone. I wanted to badly to be able to feed my family good healthy foods, but I was so busy that it seemed like extra work after a long day. Until I started building a system. It got so much easier after that. If you want help building your system, I have a free gift just for you!
The Recipe
This Recipe makes about 2 cups of treats and is intended to be super easy. You can get fancy with it and cut out cute shapes. However, for the purpose of this recipe, I kept it simple.
Ingredients
- 1 Cup Oat Flour (Oat Flour Recipe)
- 1/2 Cup Applesauce (Unsweetened)
- 1/2 Cup Peanut Butter (Without Xylitol)
- 1 Egg
Instructions
- Make sure you are using Peanut Butter without Xylitol in the ingredients. This is VERY important!! Do NOT move onto the next step without checking for this ingredient first!
- Preheat the oven to 350 degrees.
- Mix all the ingredients together. There is no particular order.
- Once it’s all mixed together, it will be a sticky dough.
- Place a piece of parchment paper on the counter.
- Drop the sticky dough in the center.
- Place another piece of parchment paper on top of the sticky dough.
- Roll out the dough into a thin layer. About 1/4 inch thick.
- Transfer the dough onto a baking sheet.
- Remove the parchment paper on the top of the dough.
- Bake for 20 – 25 minutes.
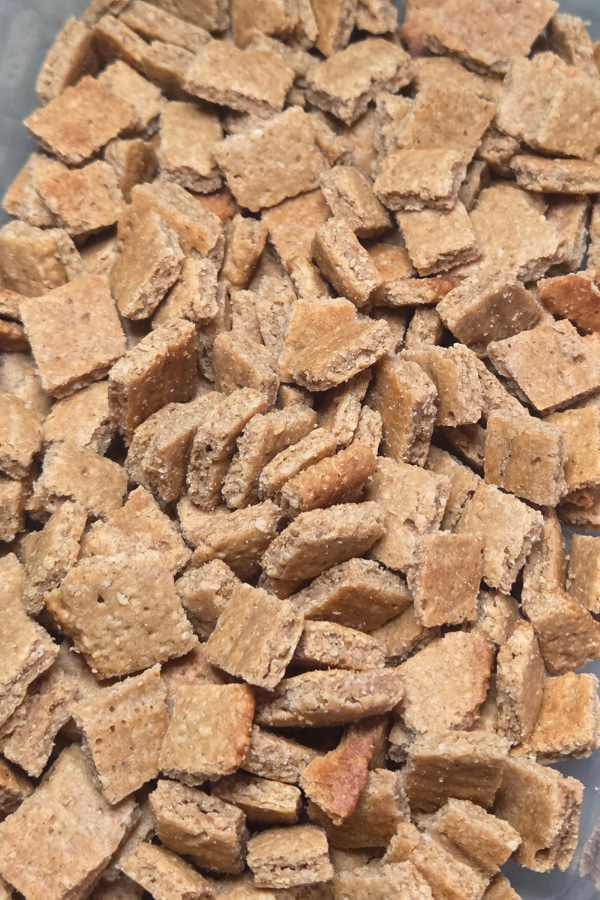
- Cut into your preferred shapes. I like to use a pizza cutter and cut them into squares.
- Leave them out on the counter to cool and dry.
Storing Tips
You do NOT want to seal these in an airtight container until you have dried them! I made this mistake and the whole thing was one passive ball of mold. This is because of the moisture still inside the treats. I like to leave the treats out on the counter until they lose most of that moisture. The treats should be dry but not crunchy.
Once it has air dried, store it in a container without a hard seal.
Conclusion
That’s it! Wasn’t that super simple? I love this recipe because it’s super easy. I can fit into a busy schedule and Koda loves being able to have a treat from time to time.
Take it one step at a time. Spend some time making these treats to see if it will fit into your schedule. See if your dog likes them or if they will eat those ingredients. Then store them for a period of time. If the way you stored them doesn’t create mold, then make this recipe in bulk so you don’t have to make it very often. That way, you will always have goodies on hand for when you want to reward you dog.
Disclaimer
Not all dogs are the same. Some are sensitive to certain ingredients, more than others. Before you give your dog a whole bunch, give them one or two and see how they do over the next few hours. Double and triple check to make sure the peanut butter your used does not have Xylitol in it. This can be fatal for dogs. If you dog is sensitive to a certain ingredient, switch it out to a different ingredient that your dog can safely eat.
I know my dog loves these dog treats but use at your own risk.
Want Help Building Your Pantry?
Knowing how to cook everything from scratch to avoid all the preservatives can be a confusing and overwhelming process. I am here to help you skip the frustration and get started confidently. Grab my free ‘From Scratch’ Pantry guide to help you get started today.
📌Pin it for Later!

Dog Treat Recipe
If you are wanting to feed your dog real food, that is actually good for them, then this dog treat recipe is the perfect place to start. It's made of all natural ingredients that you likely already have on hand. No need to buy those preservative filled treats from the store.
Ingredients
- 1 Cup Oat Flour (See Notes; for Homemade Recipe)
- 1/2 Cup Applesauce (Unsweetened)
- 1/2 Cup Peanut Butter (Without Xylitol)
- 1 Egg
Instructions
- Make sure you are using Peanut Butter without Xylitol in the ingredients. This is VERY important!! Do NOT move onto the next step without checking for this ingredient first!
- Preheat the oven to 350 degrees.
- Mix all the ingredients together. There is no particular order.
- Once it's all mixed together, it will be a sticky dough.
- Place a piece of parchment paper on the counter.
- Drop the sticky dough in the center.
- Place another piece of parchment paper on top of the sticky dough.
- Roll out the dough into a thin layer. About 1/4 inch thick.
- Transfer the dough onto a baking sheet.
- Remove the parchment paper on the top of the dough.
- Bake for 20 - 25 minutes.
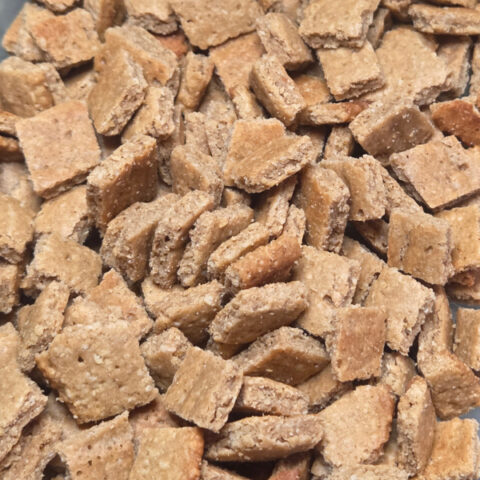
- Cut into your preferred shapes. I like to use a pizza cutter and cut them into squares.
- Leave them out on the counter to cool and dry.
Notes
- You do NOT want to seal these in an airtight container until you have dried them! I made this mistake and the whole thing was one massive ball of mold. This is because of the moisture still inside the treats. I like to leave the treats out on the counter until they lose most of that moisture. The treats should be dry but not crunchy.
- Once it has air dried, store it in a container without a hard seal.
Storing Tips
Disclaimer
Not all dogs are the same. Some are sensitive to certain ingredients, more than others. Before you give your dog a whole bunch, give them one or two and see how they do over the next few hours. Double and triple check to make sure the peanut butter your used does not have Xylitol in it. This can be fatal for dogs. If your dog is sensitive to a certain ingredient, switch it out to a different ingredient that your dog can safely eat.
Want Help Building your From Scratch Pantry?
Grab my free 'From Scratch' Pantry Guide to help you get started today without getting overwelmed.