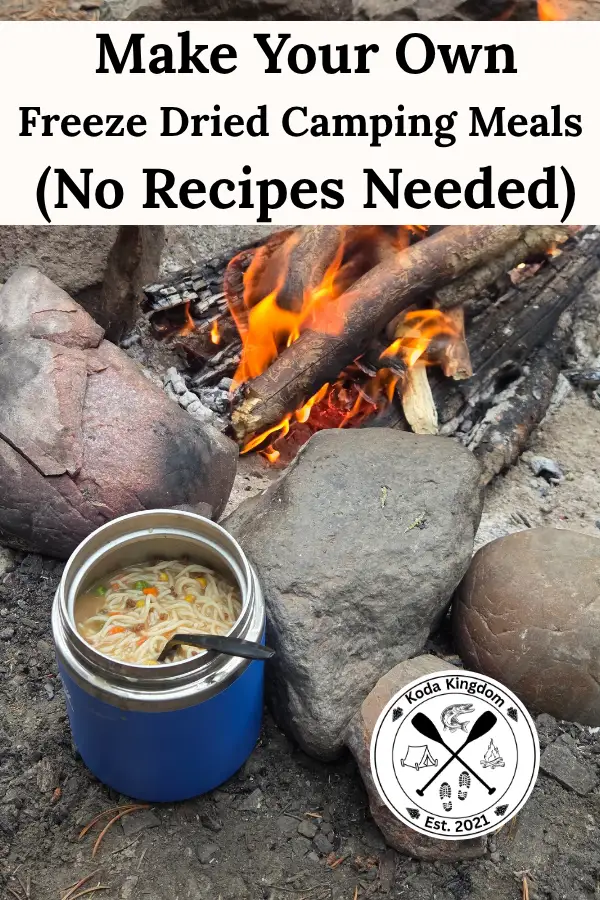

I started making my own camping meals with a dehydrator.
For a long time, it felt like the smartest thing I had ever figured out. I was making my own MREs! Real food, packed light, shelf stable. No $18 store-bought pouches. Just food I made myself, sealed up and ready to go wherever we went next.
I loved everything about the idea of it.
The reality, though, was a little harder to love.
Dehydrating uses high heat to pull moisture out of food, and that heat does something to the texture that you cannot fully undo. When you go to rehydrate a dehydrated meal on the trail, you’re working against that. It takes a long time. And even when it finally rehydrates, there’s often this rubbery, dense quality to the protein that just doesn’t go away no matter how much water you use or how long you wait.
At home I started running dehydrated meals through the pressure cooker to fix it. The pressure and steam would break down that rubbery texture and get something close to normal. But I obviously couldn’t do that on a camp stove in the middle of nowhere.
So I was stuck eating camping food that tasted good enough but was never quite right. The chicken never rehydrated at all. The beef stayed dense. The peas had a slight crunch that just wouldn’t go away. And if you were in a hurry, just add water and wait… and wait… and wait some more.
Then I got a Harvest Right freeze dryer.
And the first time I rehydrated a meal that came out of it, I genuinely did not believe how fast it happened or how much it tasted like the meal I had made two months ago. Not close to it. Not a decent imitation. It tasted fresh.
That was the end of the dehydrator for camping meals.
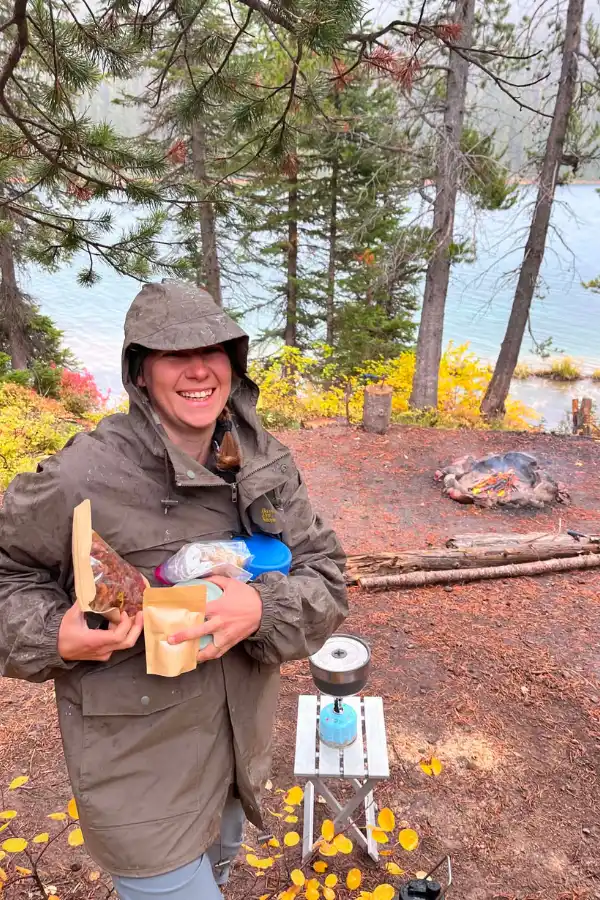
How to make freeze dried camping meals at home in a nutshell: Cook your regular dinners with the intention of having plenty of leftovers. Run the leftovers through your Harvest Right on default settings. Seal them in Mylar bags with an oxygen absorber. On your camping trip, boil water, pour it into your thermos over the freeze dried meal, close the lid, come back in five to ten minutes, and eat. No cooler, no camp stove meal prep, no slaving over dinner while everyone else is out enjoying the evening.
Why Freeze Drying Changed How We Eat on Every Trip
The biggest thing freeze drying did for our camping meals was not the convenience, though that matters a lot.
It was the freedom.
We go wherever life takes us. When you live like that and move as much as we do, having a pantry shelf lined with real meals you made yourself changes the entire calculation of where you can go and for how long. It doesn’t matter if the nearest grocery store is an hour away, if the campsite has no hookups or if the trip runs longer than planned. The food is there.
And it’s not freeze dried pouch food from a store. It’s beef stew I made on a Tuesday with a cut of meat I liked, seasoned the way I season things, with vegetables I actually wanted to eat. Sealed up and sitting on the shelf until the moment I need it.
That’s what nobody tells you when they talk about freeze drying for camping. It’s not just a preservation method. It’s a whole different way of thinking about what you eat when you’re out there.
The System (It’s Simpler Than You Think)
I don’t have a separate list of “camping recipes”, I don’t make special meals for the freeze dryer and I don’t set aside a dedicated prep day to make camping food.
What I do is cook dinner with intention.
On nights when I’m making a big pot of something, I make a lot more than we’ll eat. The leftovers go straight into the freeze dryer instead of sitting in the fridge waiting to become an obligation. I know we have all eaten the same leftover meal three days in a row because we didn’t want it to go to waste. With a freeze dryer, that’s not the problem anymore.
Make too much soup one night. Start the freeze dryer before bed. Come back to it a day or two later and it’s fully preserved, sealed up, and ready for the next adventure. No leftover guilt, no food waste, no eating the same thing until you hate it.
Keep in mind that the freeze dryer needs a minimum of 24 hours to complete a cycle, and something with a lot of liquid like soup can take considerably longer. I always account for that in my timing and never assume it will be done by morning.
On the days the freeze dryer is already running a cycle, those are the days I grill steaks or make something that can’t be preserved anyway. A seared steak can’t go in the machine. So the rhythm just works itself out naturally.
I plan a big preserve-able meal every two to three days around the machine’s cycle. One day it’s a full pot of something that will go in. The next day or two, it’s whatever won’t. It becomes second nature pretty quickly.
What Freeze Dries Into a Great Camping Meal
The meals I keep going back to for camping are the ones that rehydrate clean, travel well, and actually feel satisfying after a long day outside.
Soups and stews are where I always tell people to start. Tomato soup, beef stew, chicken noodle soup… all of them come out of the freeze dryer beautifully and rehydrate faster than almost anything else. The reason soup works so well is that the liquid is already part of the meal. When you freeze dry it, the water leaves and the flavors concentrate right into the solids. When you rehydrate it at camp, you’re just putting the water back in, and the flavor is already there waiting.
One thing I do that makes a real difference: after I make a soup, I let it sit in the fridge overnight before freeze drying it. The solids absorb the broth. By the next morning, most of the wateriness is gone and what’s left is intensely flavored. It takes less time to freeze dry, and the end result tastes better. Try it once and you’ll never skip that step.
Fully cooked complete meals are also reliable workhorses for the freeze dryer. Sloppy joe filling without the bread. Chicken pot pie pasta. These work because the macros are already balanced, they’re protein-forward, and they hold up through the freeze drying and rehydration process without losing texture or flavor.
The structure I always try to build into a camping meal is simple: protein, starch, and vegetables. As much protein as I can pack in, a good starch to give it substance, and whatever vegetables make sense with the dish. A bowl of beef stew that has this balance will keep you going through a full day on the trail in a way that a pasta side with barely any protein won’t.
Understanding Fat in Freeze Dried Food
This is the part that trips people up, so I want to be direct about it.
Fat is not the enemy of freeze drying. The amount of fat is what matters, and whether that fat overwhelms the rest of the food.
A tablespoon or two of butter in a pot of mashed potatoes will freeze dry just fine. Vegetables that were sautéed in a small amount of olive oil will freeze dry fine. The key is proportion. If you can taste the fat more than you can taste the food, that’s too much.
The problems start when fat is the dominant element. Pure heavy cream doesn’t freeze dry well. But if you separate the fat out of heavy cream, the buttermilk that remains freeze dries beautifully. This matters when you’re making cream-based sauces for camping meals. A sauce made with milk, cheese, a little flour, and a measured amount of butter (like a homemade white sauce for chicken pot pie pasta) will freeze dry well. The fat is there but it’s working as an ingredient, not drowning everything else.
The question to ask yourself before you run something through the machine is: does this have too much fat, or is the fat in proportion with everything else? If you’re making real food built around protein, vegetables, and a starch the way I try to, most of what you cook will freeze dry without any adjustments at all.
High sugar content is a different thing to watch for. Very high sugar can cause food to come out sticky and stay sticky. Jams and certain desserts run into this. For savory camping meals, it’s rarely an issue.
How Long Freeze Drying Actually Takes
The freeze dryer runs a full cycle before anything is shelf stable. For most cooked meals, that’s somewhere between 24 and 36 hours depending on water content.
Soups that still have a lot of liquid will take longer. This is part of why I let mine sit in the fridge overnight first. The more moisture you start with, the longer the machine has to work to remove it. Starting with less water in the food means a shorter cycle and a more concentrated flavor.
Thick solids like chunks of meat or dense potato pieces take longer than thinner slices or shredded protein.
When the cycle finishes, pull out a thick piece of something and test it. It should be completely dry and brittle all the way through. If it has any softness or feels cool in the center, add a couple more hours. This matters more than it sounds. Sealing food that isn’t fully done is how you lose a batch.
Sealing and Storing Camping Meals
The moment a cycle ends, seal everything immediately. Do not leave trays sitting out while you finish something else.
Freeze dried food is completely dry and highly porous. It will pull moisture straight back out of the air. If you let it sit out for even a couple of hours, you will notice a difference. Leave it overnight and you’ve lost the batch.
For camping meals specifically, I seal everything in Mylar bags with an oxygen absorber. There’s no risk of breaking glass, and the weight difference matters, especially if you’re backpacking and every ounce counts.
At home, for things like bulk meat, fruit, or vegetables that I’m going through regularly, I use half-gallon mason jars with a vacuum seal lid. Easy to open, easy to see what’s inside. But for anything hitting the trail, it’s Mylar.
Harvest Right says properly sealed freeze dried food can last up to 25 years. Full meals with meat and a little fat won’t last as long as plain fruit or vegetables, so I rotate ours well before that.
At Camp: How to Actually Use It
This is the part that made me fall in love with the whole system.
You boil water, add the freeze dried meal to your thermos, pour the boiling water over it, close the lid, and come back in five to ten minutes. You eat.
That’s it.
No slaving over a camp stove while everyone else is out exploring, no hunting for ingredients, no cleanup beyond a bowl and a spoon. The most complicated part of the meal happened at home weeks or months ago. For the rest of the day, here are the camping snacks we make from scratch.
The thermos method keeps everything hot while it rehydrates and means you are not babysitting a pot. Adjust the water as you go. Too little, add more. Too much, it’s a little soupier than usual but it still tastes exactly like the meal you made.
The only thing you genuinely cannot mess up with freeze dried food is rehydration. It is the most forgiving part of the whole process. Once it’s rehydrated, eat it. At that point it’s regular cooked food again, so don’t save half for later without a way to keep it cold.
Why Freeze Dried Beats Dehydrated for Camping
I want to come back to this because it’s the comparison most people are actually trying to make when they look into this.
Dehydrating uses heat. That heat is what allows it to work, and it’s also what changes the food. The cell structure breaks down. Proteins tighten. When you rehydrate at home with a pressure cooker, you can reverse most of that. At a campsite with a single burner stove and a pot of water, you cannot.
Freeze drying removes the moisture while the food is still frozen. The machine only adds gentle heat to help the ice turn to vapor, so the food never cooks the way it does in a dehydrator, and the cell structure mostly stays intact. When water goes back in, the food behaves almost like it was freshly made. Not almost as good. Actually close to what you started with.
The difference at camp is the difference between eating something that tastes like what you made and eating something that tastes like a version of it.
If you already have a dehydrator and you love it, keep using it for things it does well (fruit leathers, jerky, dried herbs), but for full meals you want to eat on a camping trip, freeze drying is the upgrade that actually solves the problem.
A Few Things Worth Knowing Before You Start
Run a small test batch the first time you try a new meal. Make a little extra, run it through, rehydrate a portion and taste it before you seal up twenty servings for a three-week trip. The machine is consistent and forgiving, but testing gives you confidence.
Keep notes. After a few cycles you’ll know exactly how long your machine takes for your beef stew, your chicken noodle soup, your sloppy joe filling. That knowledge makes the whole system faster and more efficient over time.
If you’re new to the Harvest Right and want to understand the basics before you start running full meals through it, this beginner’s guide is where I’d send you first. And if you want to know which foods freeze dry well beyond full meals, this post covers the best foods to freeze dry at home.
Freeze dried meals are one piece of a pantry that goes anywhere with you. The rest is a simple system for what to stock, how much, and how to keep it shelf-stable on the road, and it’s all in my free From-Scratch Pantry Starter Guide. You can grab it right here.
If you have been making your own camping meals and hitting the same wall I hit with dehydrating (the texture, the rehydration time, the pressure cooker workaround that doesn’t translate to a trail) I hope this helps.
You don’t need special recipes, and you don’t need a dedicated prep day. You just need to cook dinner with a little extra intention and let the machine do what it does. That’s the whole system.
The food gets better. The trips get easier. And you stop standing over a hot stove at camp while everyone else is already out there enjoying the evening.
With love and adventure,
Mindy
Have you tried freeze drying your own camping meals? Drop a comment below and tell me what you’ve run through your machine so far, or what meal you’re most curious to try. I genuinely want to know.
📌Pin for Later