

If there’s one thing that used to frustrate me in the kitchen, it was realizing I needed powdered sugar for a recipe and not having it on hand.
I always had regular sugar. I always had cornstarch. But somehow, I still found myself running to the store for something that could have been made in minutes with ingredients I already owned.
That was one of the small moments that pushed me to stop relying on single-use grocery items and start building a pantry that actually works for real life.
This homemade powdered sugar recipe is one of the simplest pantry swaps you can make. It saves space, saves money, and helps you avoid extra grocery trips. Especially when you’re working with a small kitchen, moving often, or trying to keep your pantry flexible.
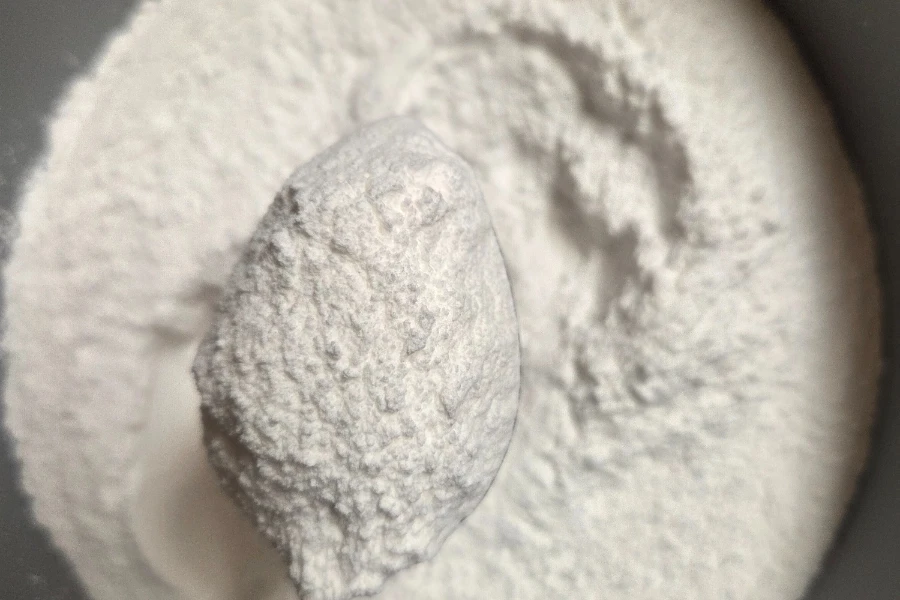
Homemade powdered sugar in a nutshell: Blend granulated sugar in a high-speed blender for 1-3 minutes until fine and fluffy. Add 1 tablespoon of cornstarch per cup if you’re storing it longer than a few days, it prevents clumping. Make only what you need, no specialty item taking up pantry space.
Why I Make My Own Powdered Sugar
I don’t make this because it’s trendy or “from scratch for the sake of it.”
I make it because:
- I already have the ingredients
- I don’t want to store another specialty item
- I don’t want to run to the store for one recipe
- I can make exactly what I need, when I need it
Most of the time, I only make enough for the recipe I’m working on. If I end up with extra, I’ll store it in an airtight container. And if we’re in transition or preparing to move, I’ll switch to a mylar bag so it’s easy to pack.
If you want help building a pantry like this step-by-step, my free From Scratch Pantry Starter Guide walks you through exactly how to start, even with limited space.
Homemade Powdered Sugar Recipe
Ingredients
- 1 cup granulated sugar
- Optional: 1 tablespoon cornstarch (see notes below)
Equipment
(This is the one tool I use and already have on hand. No special equipment required.)
Instructions
- If using cornstarch, add it now.
- Add sugar to a high-speed blender.
- Blend on high for 30–60 seconds, until the sugar becomes a fine powder.
- Let the dust settle before opening the lid.
- Use immediately or store in an airtight container.
That’s it.
Do You Really Need Cornstarch?
This is one of the most common questions and the answer is no, not always.
What cornstarch actually does: Cornstarch helps absorb moisture and prevents clumping when powdered sugar is stored long-term.
How I personally use it:
- No cornstarch: When I’m making powdered sugar for immediate use or short-term storage.
- With cornstarch: If I know I’ll be storing it for a longer period of time.
Since I don’t often store powdered sugar long-term, I usually skip it. But it’s helpful to know why it’s included and when it actually matters. This kind of flexibility is exactly why I prefer homemade pantry staples.
How I Store It (When I Have Extra)
- Short-term: Airtight container or mason jar
- In transition or moving: Mylar bag
Because I make powdered sugar only when I need it, I don’t have to worry about it hardening, clumping, or taking up unnecessary space.
How This Fits Into a Realistic Pantry System
This recipe is part of a bigger shift I’ve made in my kitchen.
Instead of stocking:
- Powdered sugar
- Brown sugar
- Pancake mix
- Baking powder
- Boxed mixes
I stock multi-use ingredients that can become all of those things.
If you’re building a pantry that’s meant to move with you or just trying to simplify a small space, this approach makes a huge difference.
You can see how all of these fit together in my post: DIY Pantry Staples That Replace the Grocery Store
Other Pantry Staples I Make Instead of Buying
If you’re already here, you might also find these helpful:
Each one replaces a store-bought item using ingredients you likely already have.
Frequently Asked Questions
Why isn’t my sugar turning powdery? Make sure your blender is completely dry inside first, even a small amount of moisture will stop the sugar from powdering properly and can turn it into a paste instead. A few seconds of rest between blending bursts also helps if your blender is running hot.
How long does it last? Made with cornstarch and stored airtight, it lasts indefinitely. Without cornstarch, it’s best used within a week or two before it starts to clump.
Can I use a food processor instead of a blender? Yes, it just takes a bit longer, closer to 3-5 minutes versus 30-60 seconds in a high-speed blender.
Start Small
You don’t need to replace everything at once. The next time you run out of powdered sugar, don’t add it to your grocery list. Make it instead. That’s how this whole pantry system starts. One small, practical swap at a time.
With love and adventure,
Mindy
📌Pin For Later

Homemade Powdered Sugar
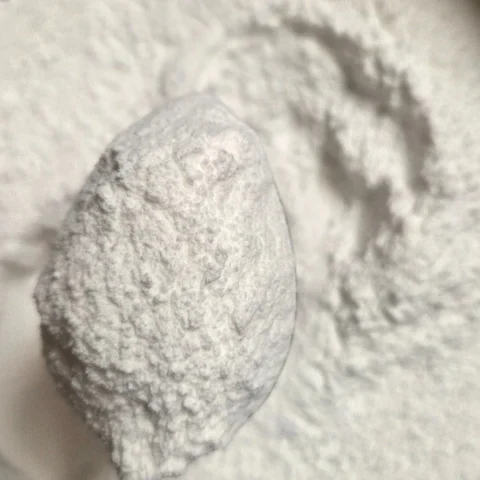
This homemade powdered sugar recipe is one of the simplest pantry swaps you can make. It saves space, saves money, and helps you avoid extra grocery trips. Especially when you’re working with a small kitchen, moving often, or trying to keep your pantry flexible.
Ingredients
- 1 Cup Granulated Sugar
- 1 Tbsp Cornstarch or Arrowroot (Optional - See Notes)
Instructions
- If using cornstarch, add it now.
- Add sugar to a high-speed blender.
- Blend on high for 30–60 seconds, until the sugar becomes a fine powder.
- Let the dust settle before opening the lid.
- Use immediately or store in an airtight container.
Notes
- What cornstarch actually does: Cornstarch helps absorb moisture and prevents clumping when powdered sugar is stored long-term.
- I use cornstarch when I am storing powdered sugar for long-term.
- I DONT use cornstarch when I will be using the powdered sugar immediately.
- If you are storing it for a few weeks and don't want to add cornstarch that's okay too. If it starts to clump just break it up or add it back into the blender and its good as new!